
The primary requirement I had for the purchase of the Sony Nex6 was that it shoot raw to allow processing of the photos to bring out shadows and compress highlight areas in the same photo. HDR – High Dynamic Range – combines photos taken at different exposures to provide the ability to represent both very light and very dark areas in the same JPG image. Raw saves the wider dynamic range data from the sensor to accomplish the same thing. Which is better?
I shot a series of bracketed images in both JPG and Raw and processed them with HDR software and RawTherapee to find out which is better. Beware of clicking on these images. They are the full size images from the camera and can take a while to download.
The photo above was built from JPG bracketed images using Fusion 1 SUM. It shows a typical flatness and lack of saturation of some HDR photos. I was able to get much better results using PictureNaut.
Setting up the Nex6 to Bracket Exposures
Use the Drive menu from the thumbwheel to set bracketing. Use P, A or S mode so that bracketing is available. For HDR set +-3.0 EV, which means that the three photos will be taken with a separation of 3 stops. Larger is better for the EV value when creating an HDR. After all, RAW files have a few stops, so if you can accomplish the HDR effect using a single RAW file, that’s much easier anyway.
PictureNaut did not take a change in ISO value into account, and I suspect that many HDR programs ignore ISO, so it is best to fix the ISO value rather than using ISO Auto.

Here’s an example of the three exposures from a bracketed shot. The Nex6 shoots at about 10 fps when doing the shot. Hold the camera still or use a tripod. The HDR programs will try to align the images if they are slightly off, but it’s best if they are really close.

Here’s another example. These examples are 1920 sized images combined into a single image for comparison. I did the HDR tests using the full size images from the camera.
Choose an HDR Program
I tried three free programs that I found online based on an article that google found. This is by no means a complete review of these programs, but just a quick – get started -overview of what I found.
- Fusion 1 – free version. This is easy to use on Sum mode. Harder and seemingly more limited. The buttons were confusing and the save appeared to be missing until I discovered how to use it. The sum results where washed out and old-school HDR like rather than nice looking photos. Maybe their pay-version is better, but I didn’t see enough to cause me to try it.
- Luminance HDR – completely opaque and confusing. I couldn’t get to square one with this one. Good luck if you want to try it. Apparently there is a lot of technology here, but it’s too hard to use. I’m not a technophobe and can learn and use complex programs, but if you need a degree and several days to get started, forget it. I want to make photos not spend time learning just to get started. RawTherapee is complex, but it has a well designed interface and clearly marked functions. It was easy to learn to use. Luminance is not.
- PictureNaut – Easy to use and produces reasonable results. But it has a few bugs. First is that it ignores ISO changes apparently – I reported this bug. So fix your ISO and it works. I had trouble – crashes – with “Compute” for the curve setting. Apparently this is the computation of the camera compensation. Some of my picture series worked fine, and some crashed the program. But setting this to Standard seemed to get past this bug.
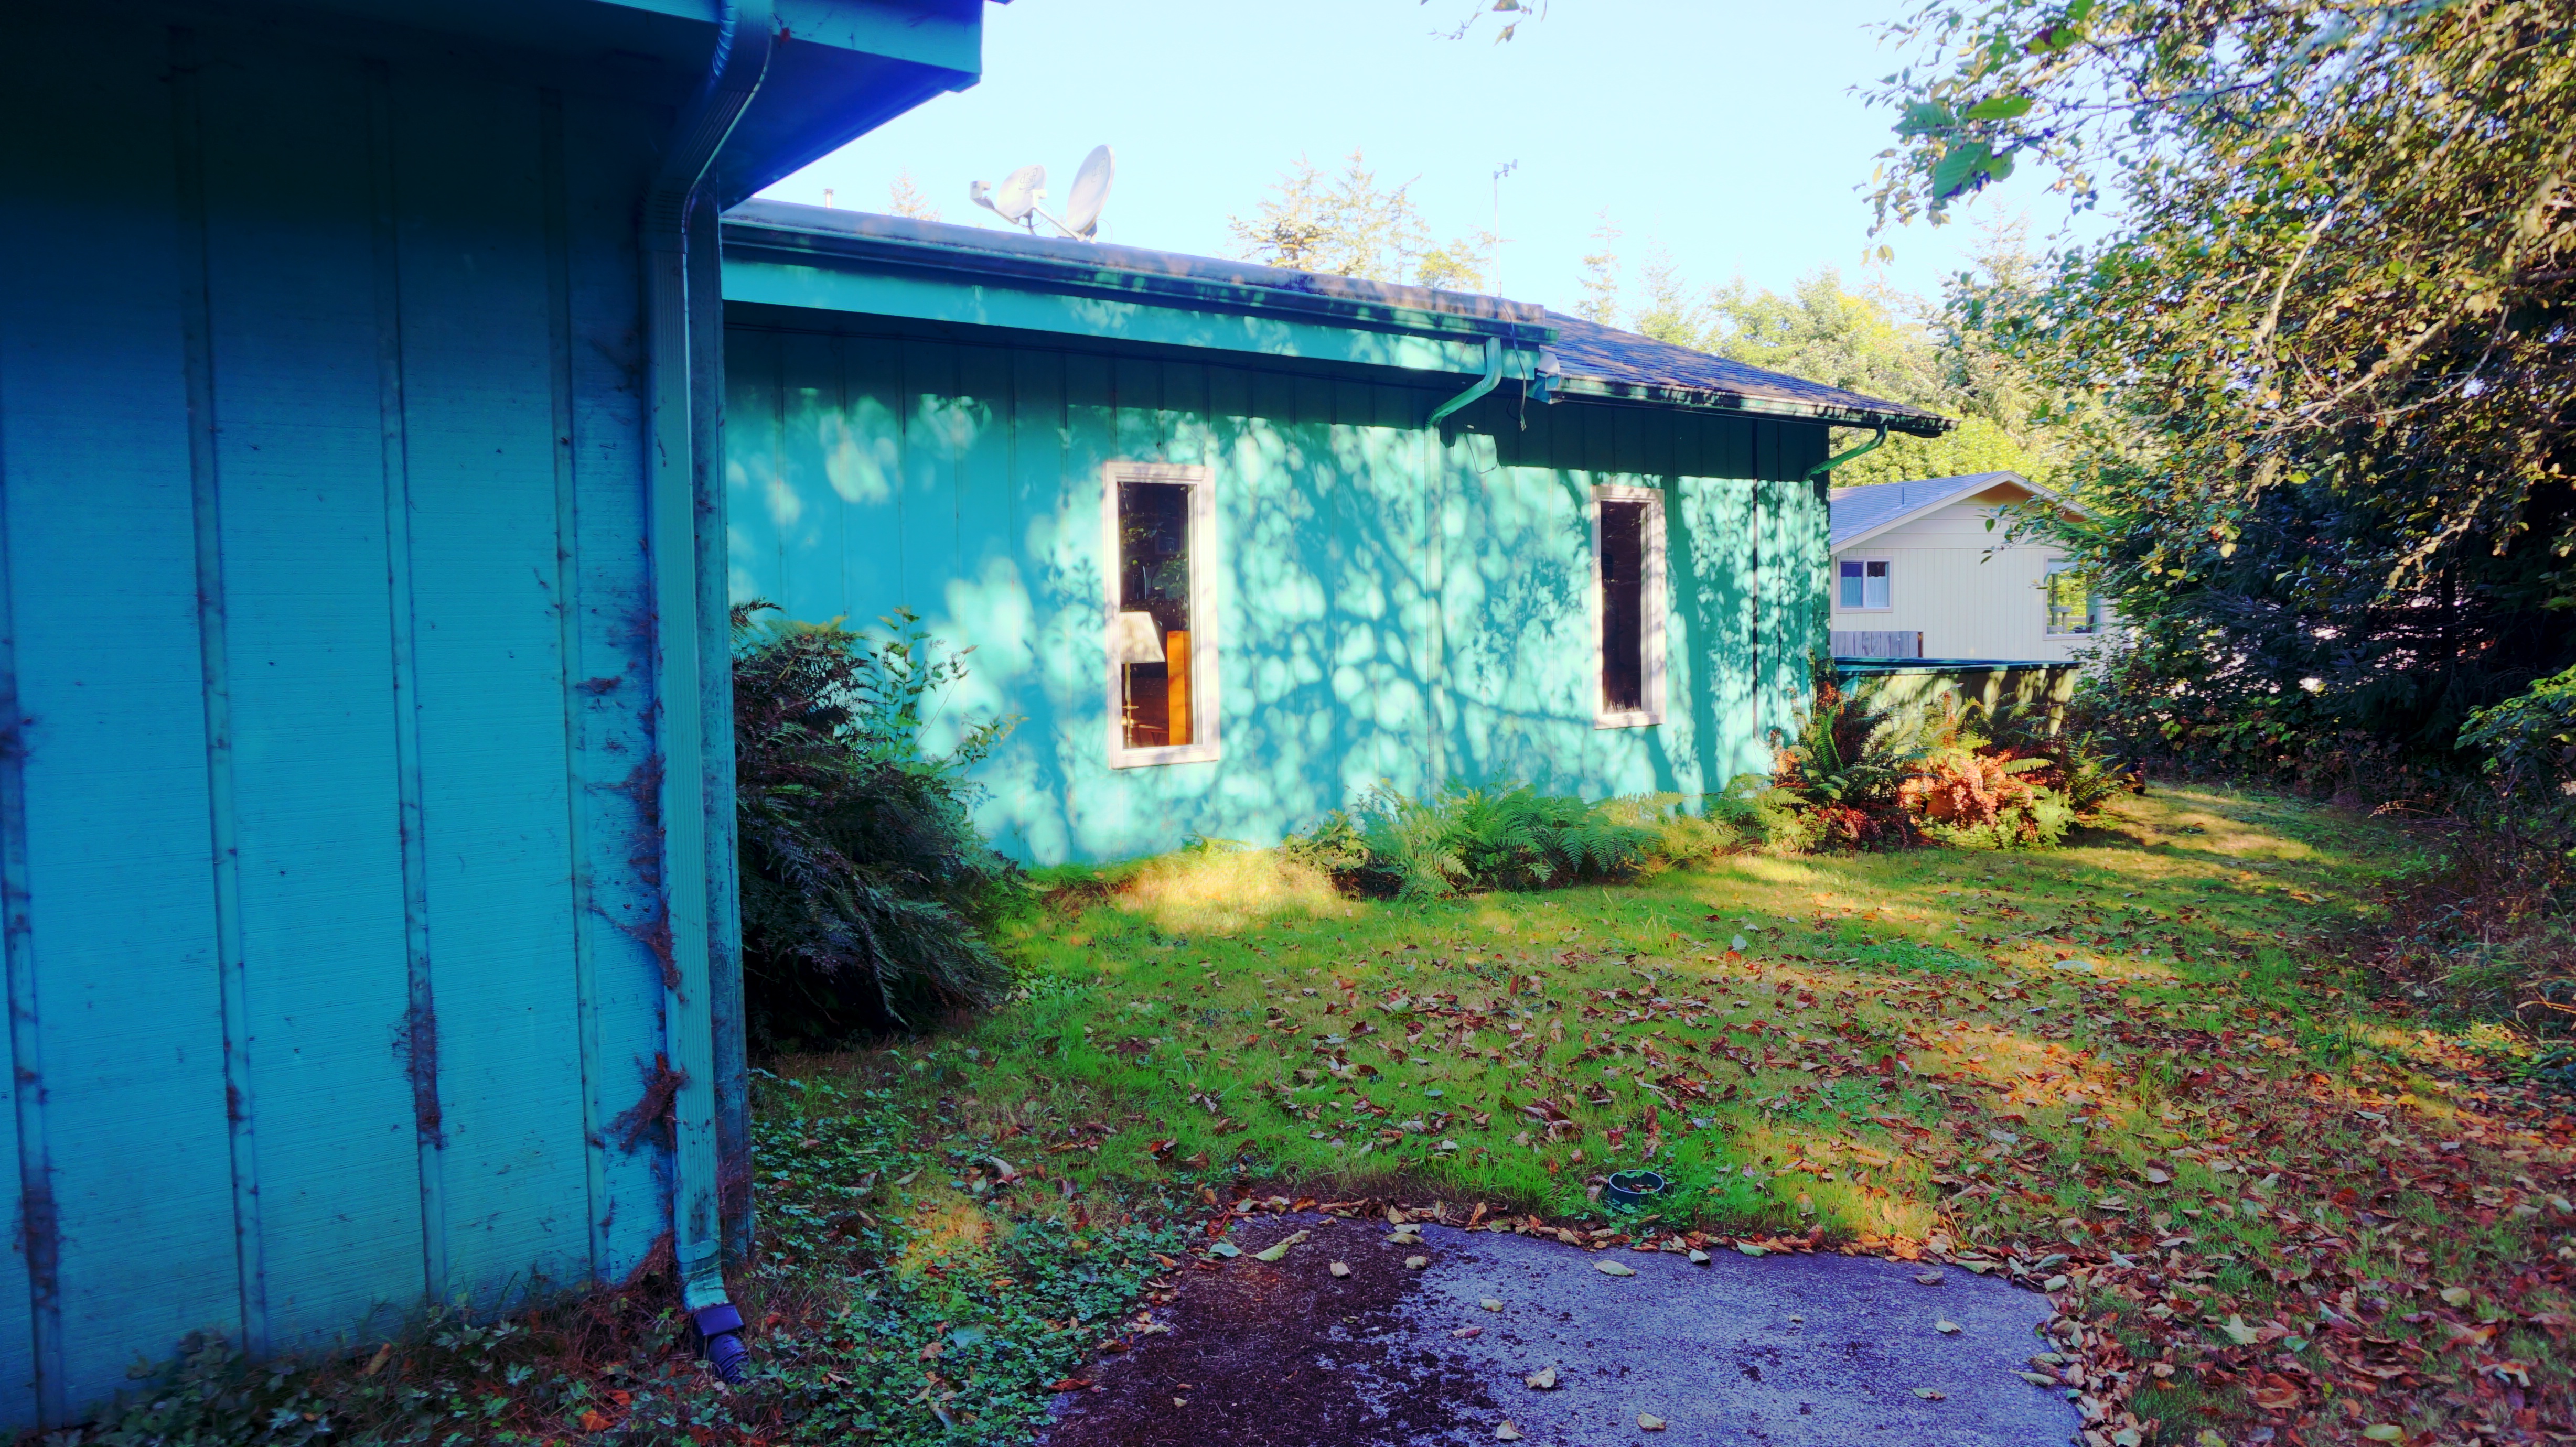
This is the same picture as above but using PictureNaut. As you can see it’s much more colorful and looks less like a classic washed out HDR photo. The next photo was processed by PictureNaut from the raw files rather than the jpgs.
![PictureNaut HDR from ARW [raw]](https://windyweather.net/wp-content/uploads/2014/09/dsc00181_hdri-32bit_2.jpg)
Do We Need HDR?
But do we need HDR at all? Let’s just use a raw processor on a raw image. All these bracketed images were saved by the camera as both JPG and RAW. So what if we just take RawTherapee and process the first – normal exposure – image and see what we can get.

Looks pretty good to me. And of course there are no alignment issues. The color correction, saturation choice and other settings are much easier to deal with in RawTherapee than in the Tone Mapping of an HDR program. You may notice a crop difference. The camera is set to 16×9, which means the JPG images are 16×9. But the Raw files are still 3×2, so the crop is different for the second picture.
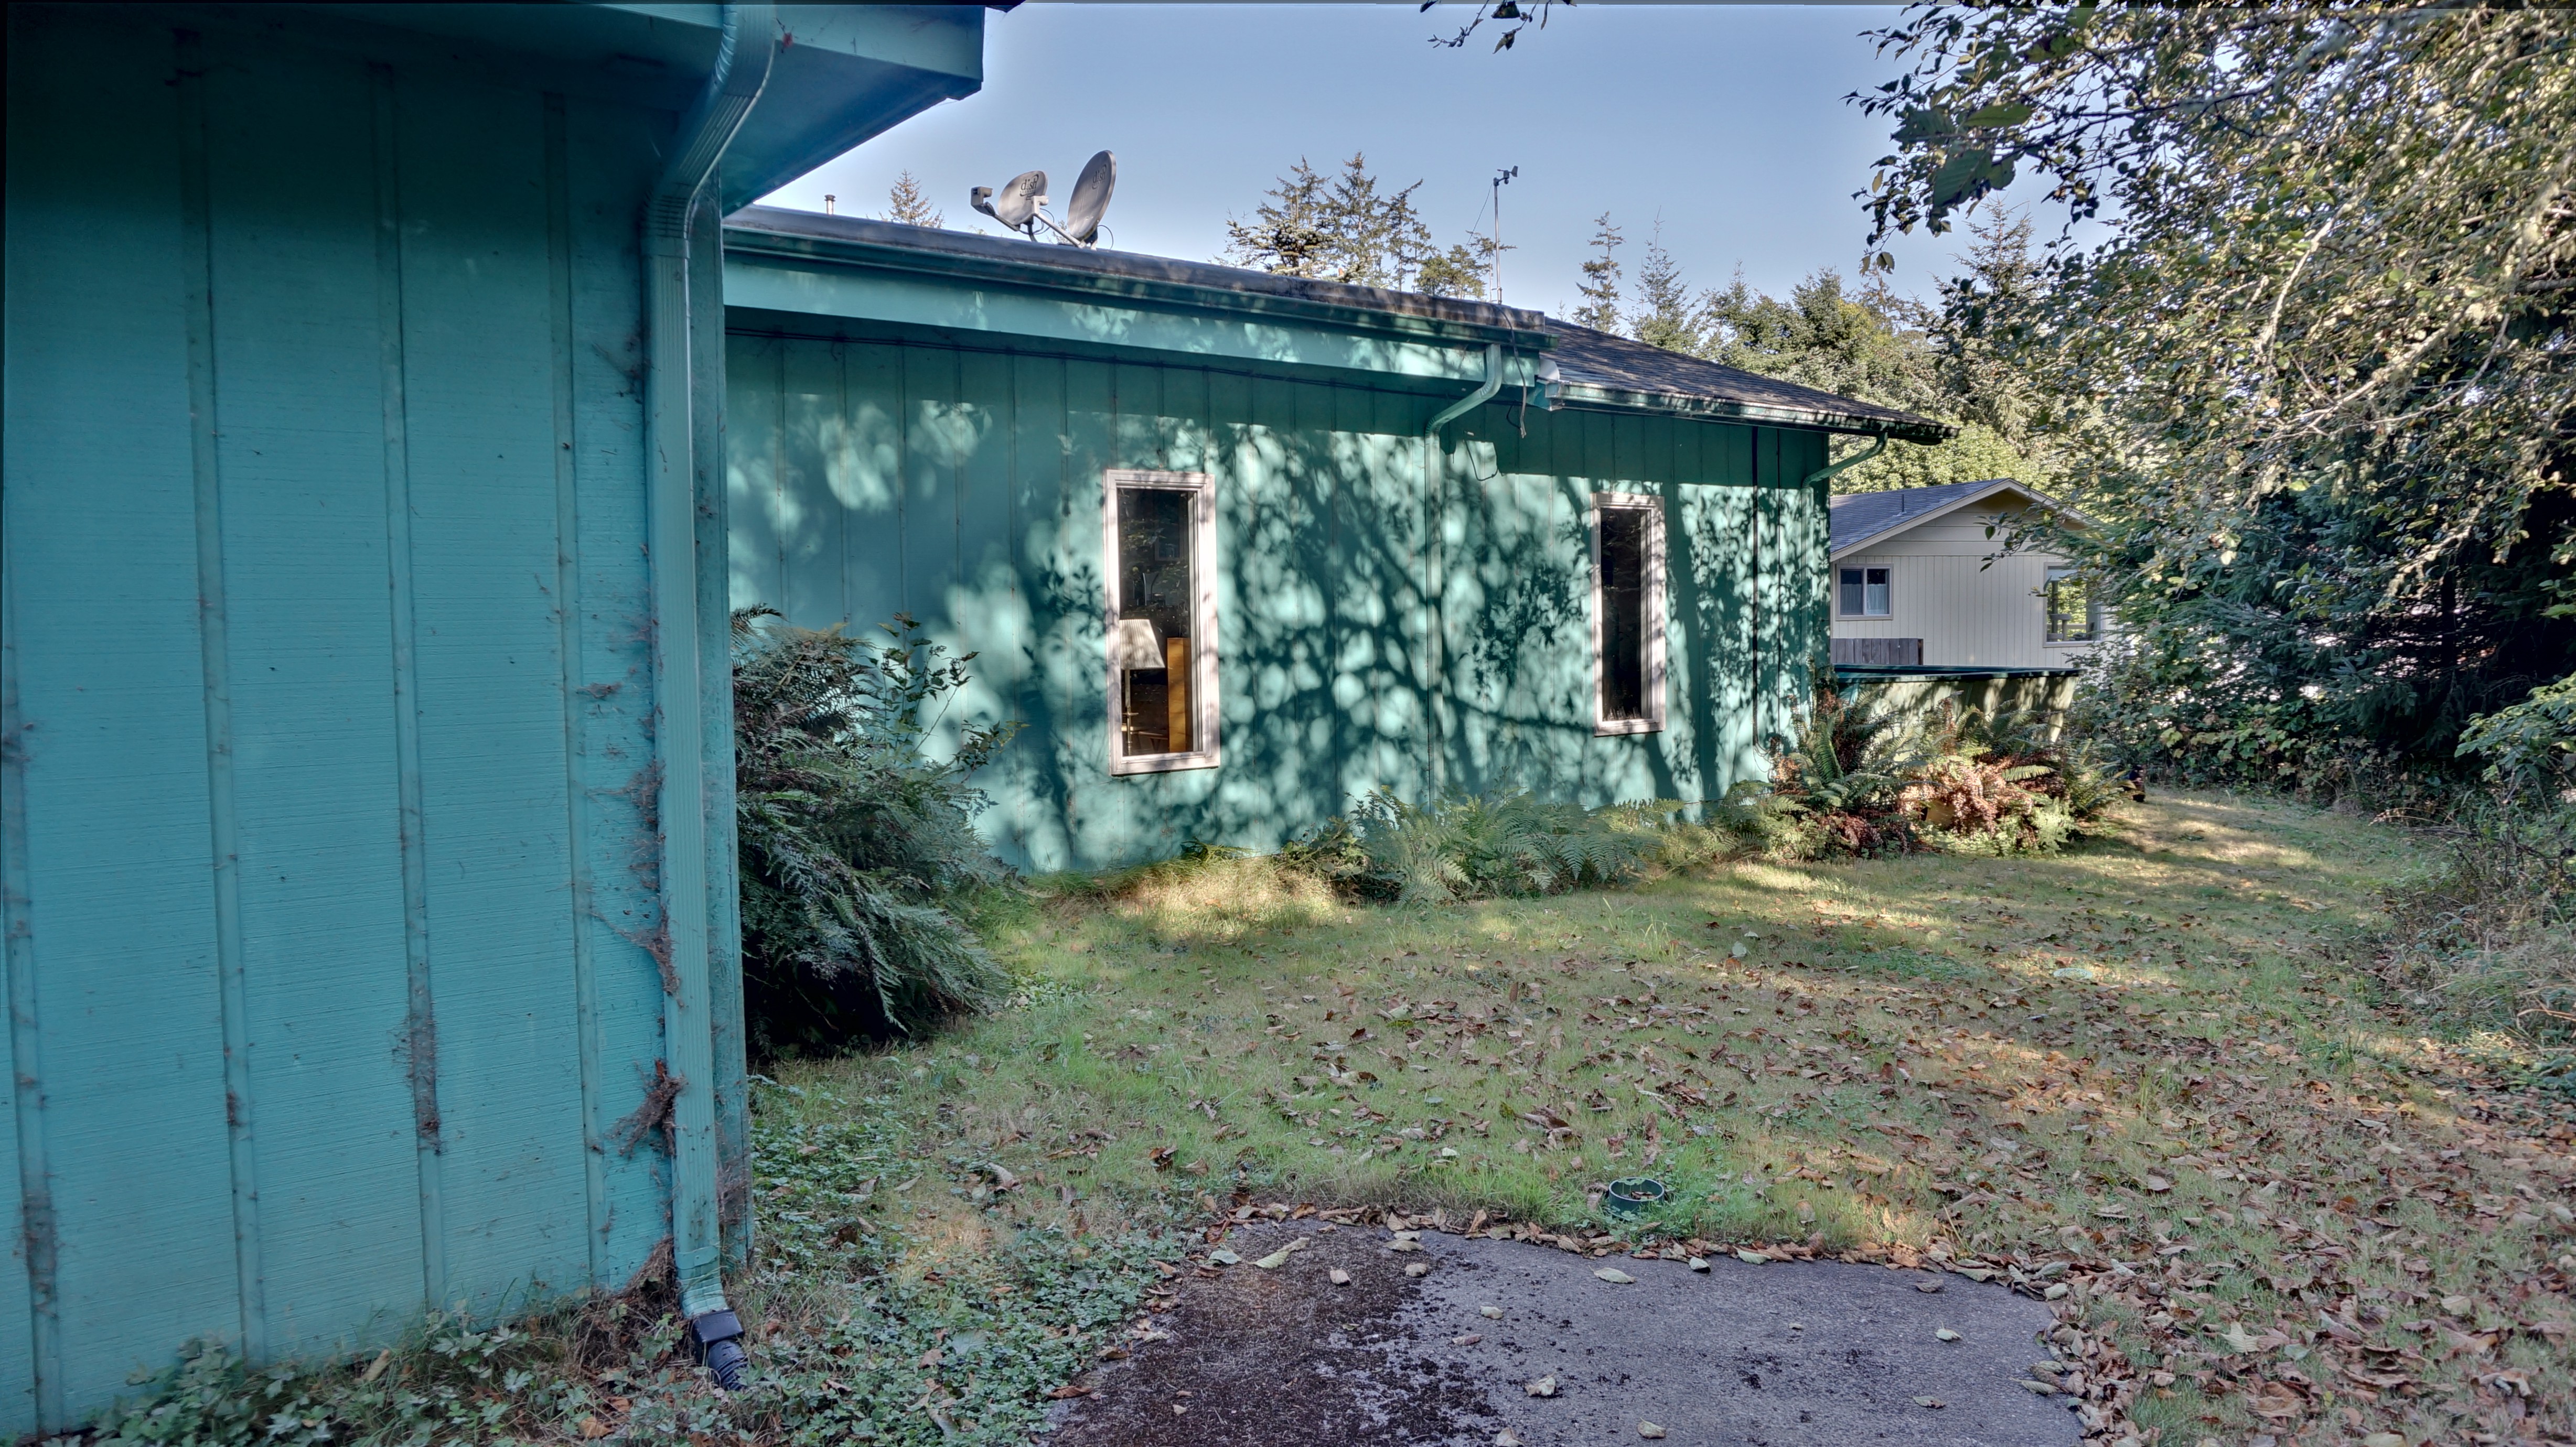
Here’s that first photo processed from Raw. Lots of shadow detail. No blown out sunlight spots on the wall and the sky is colorful. You can read the Dish Network on the antennas too. Just like the HDR photos.
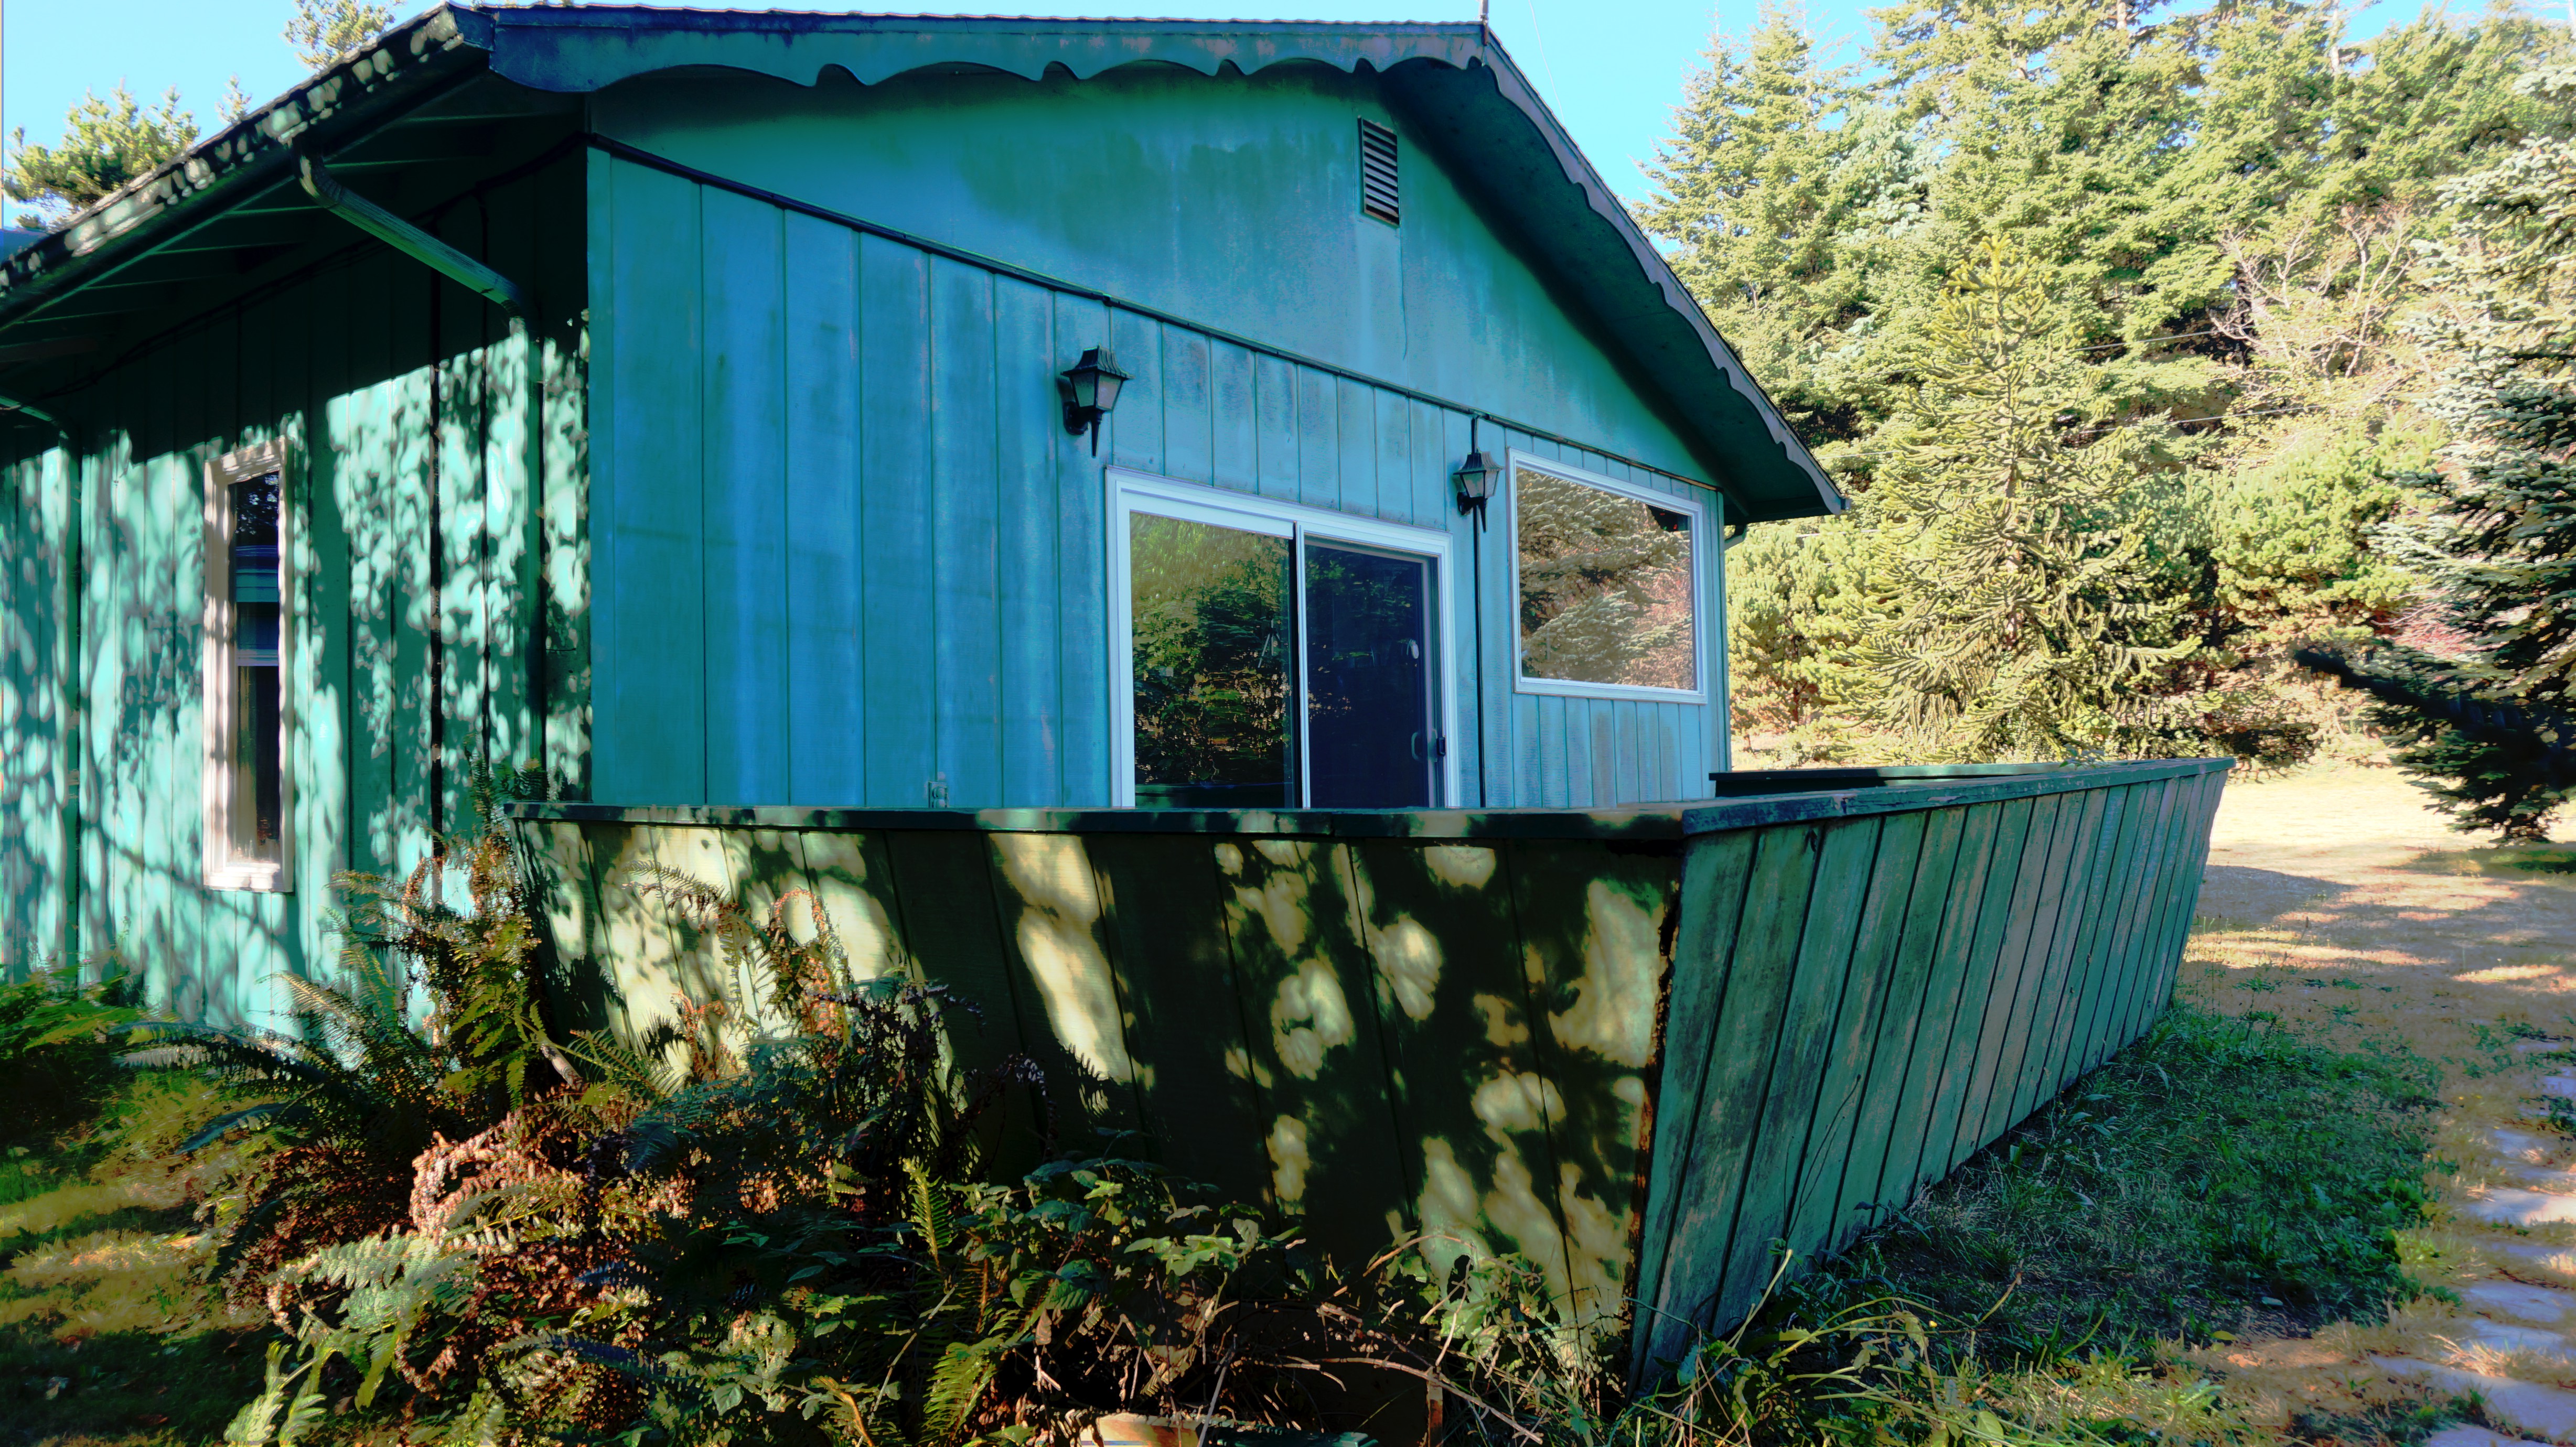
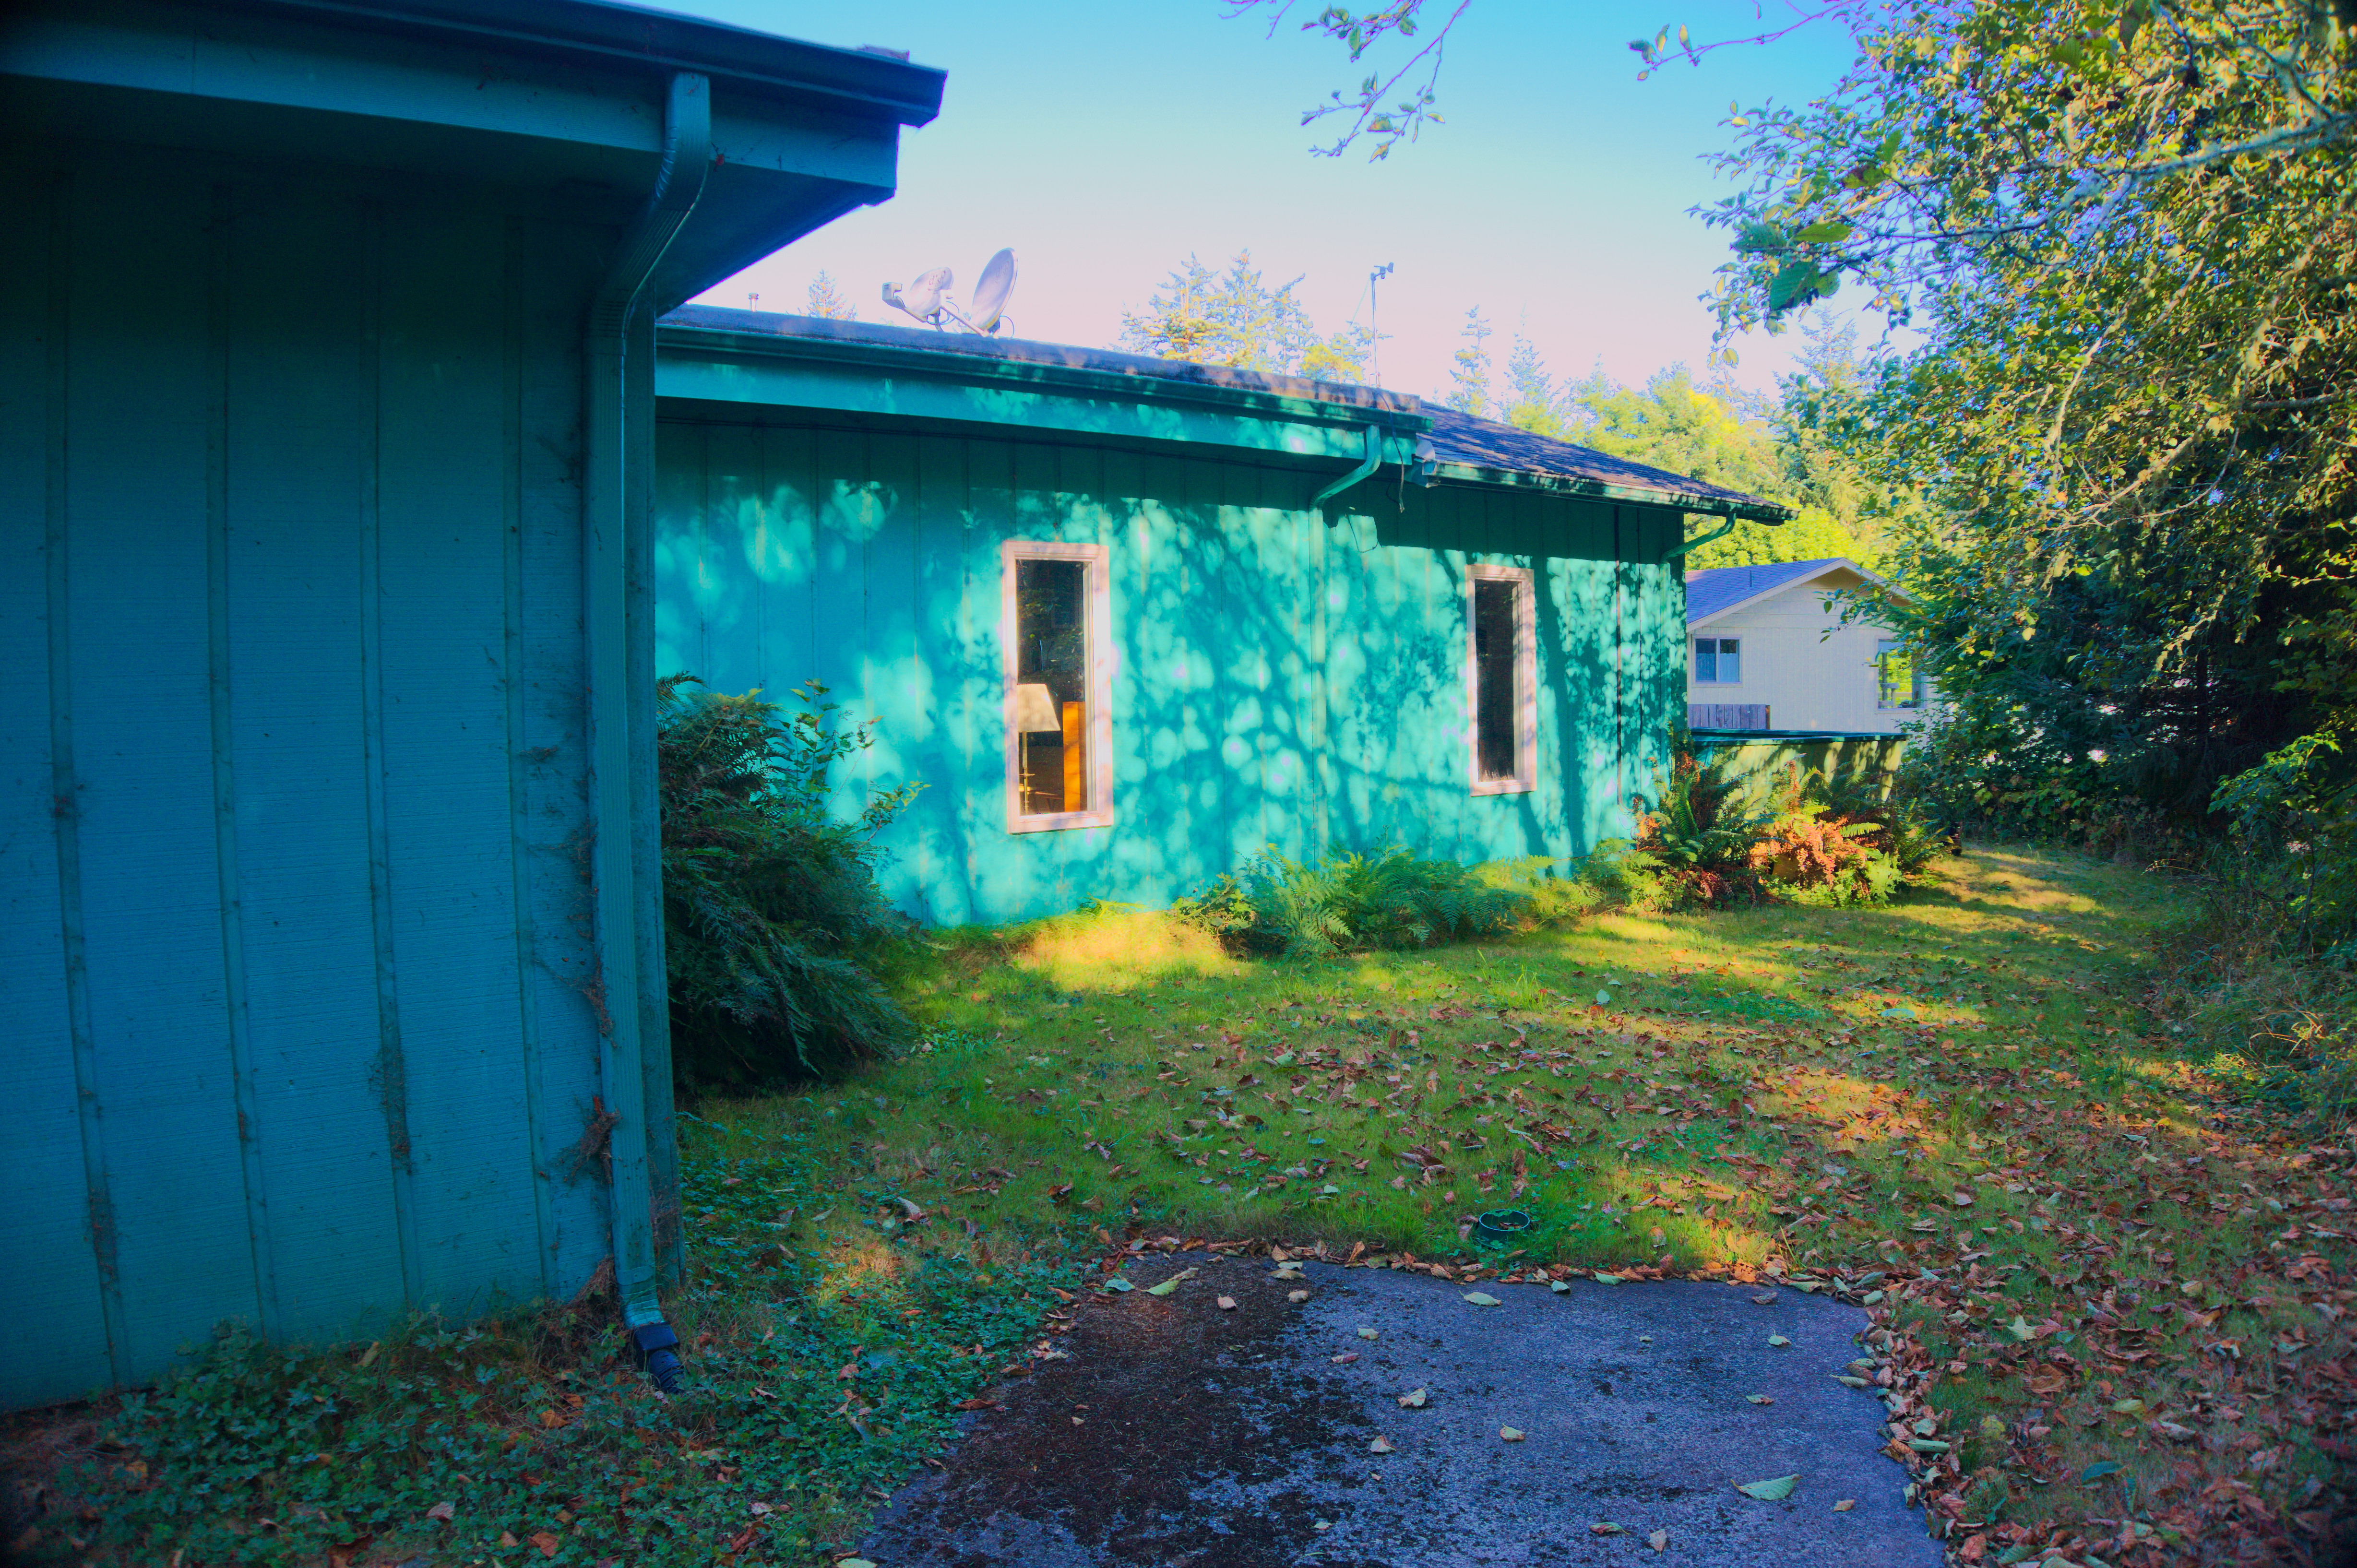
Here’s the last test photo:
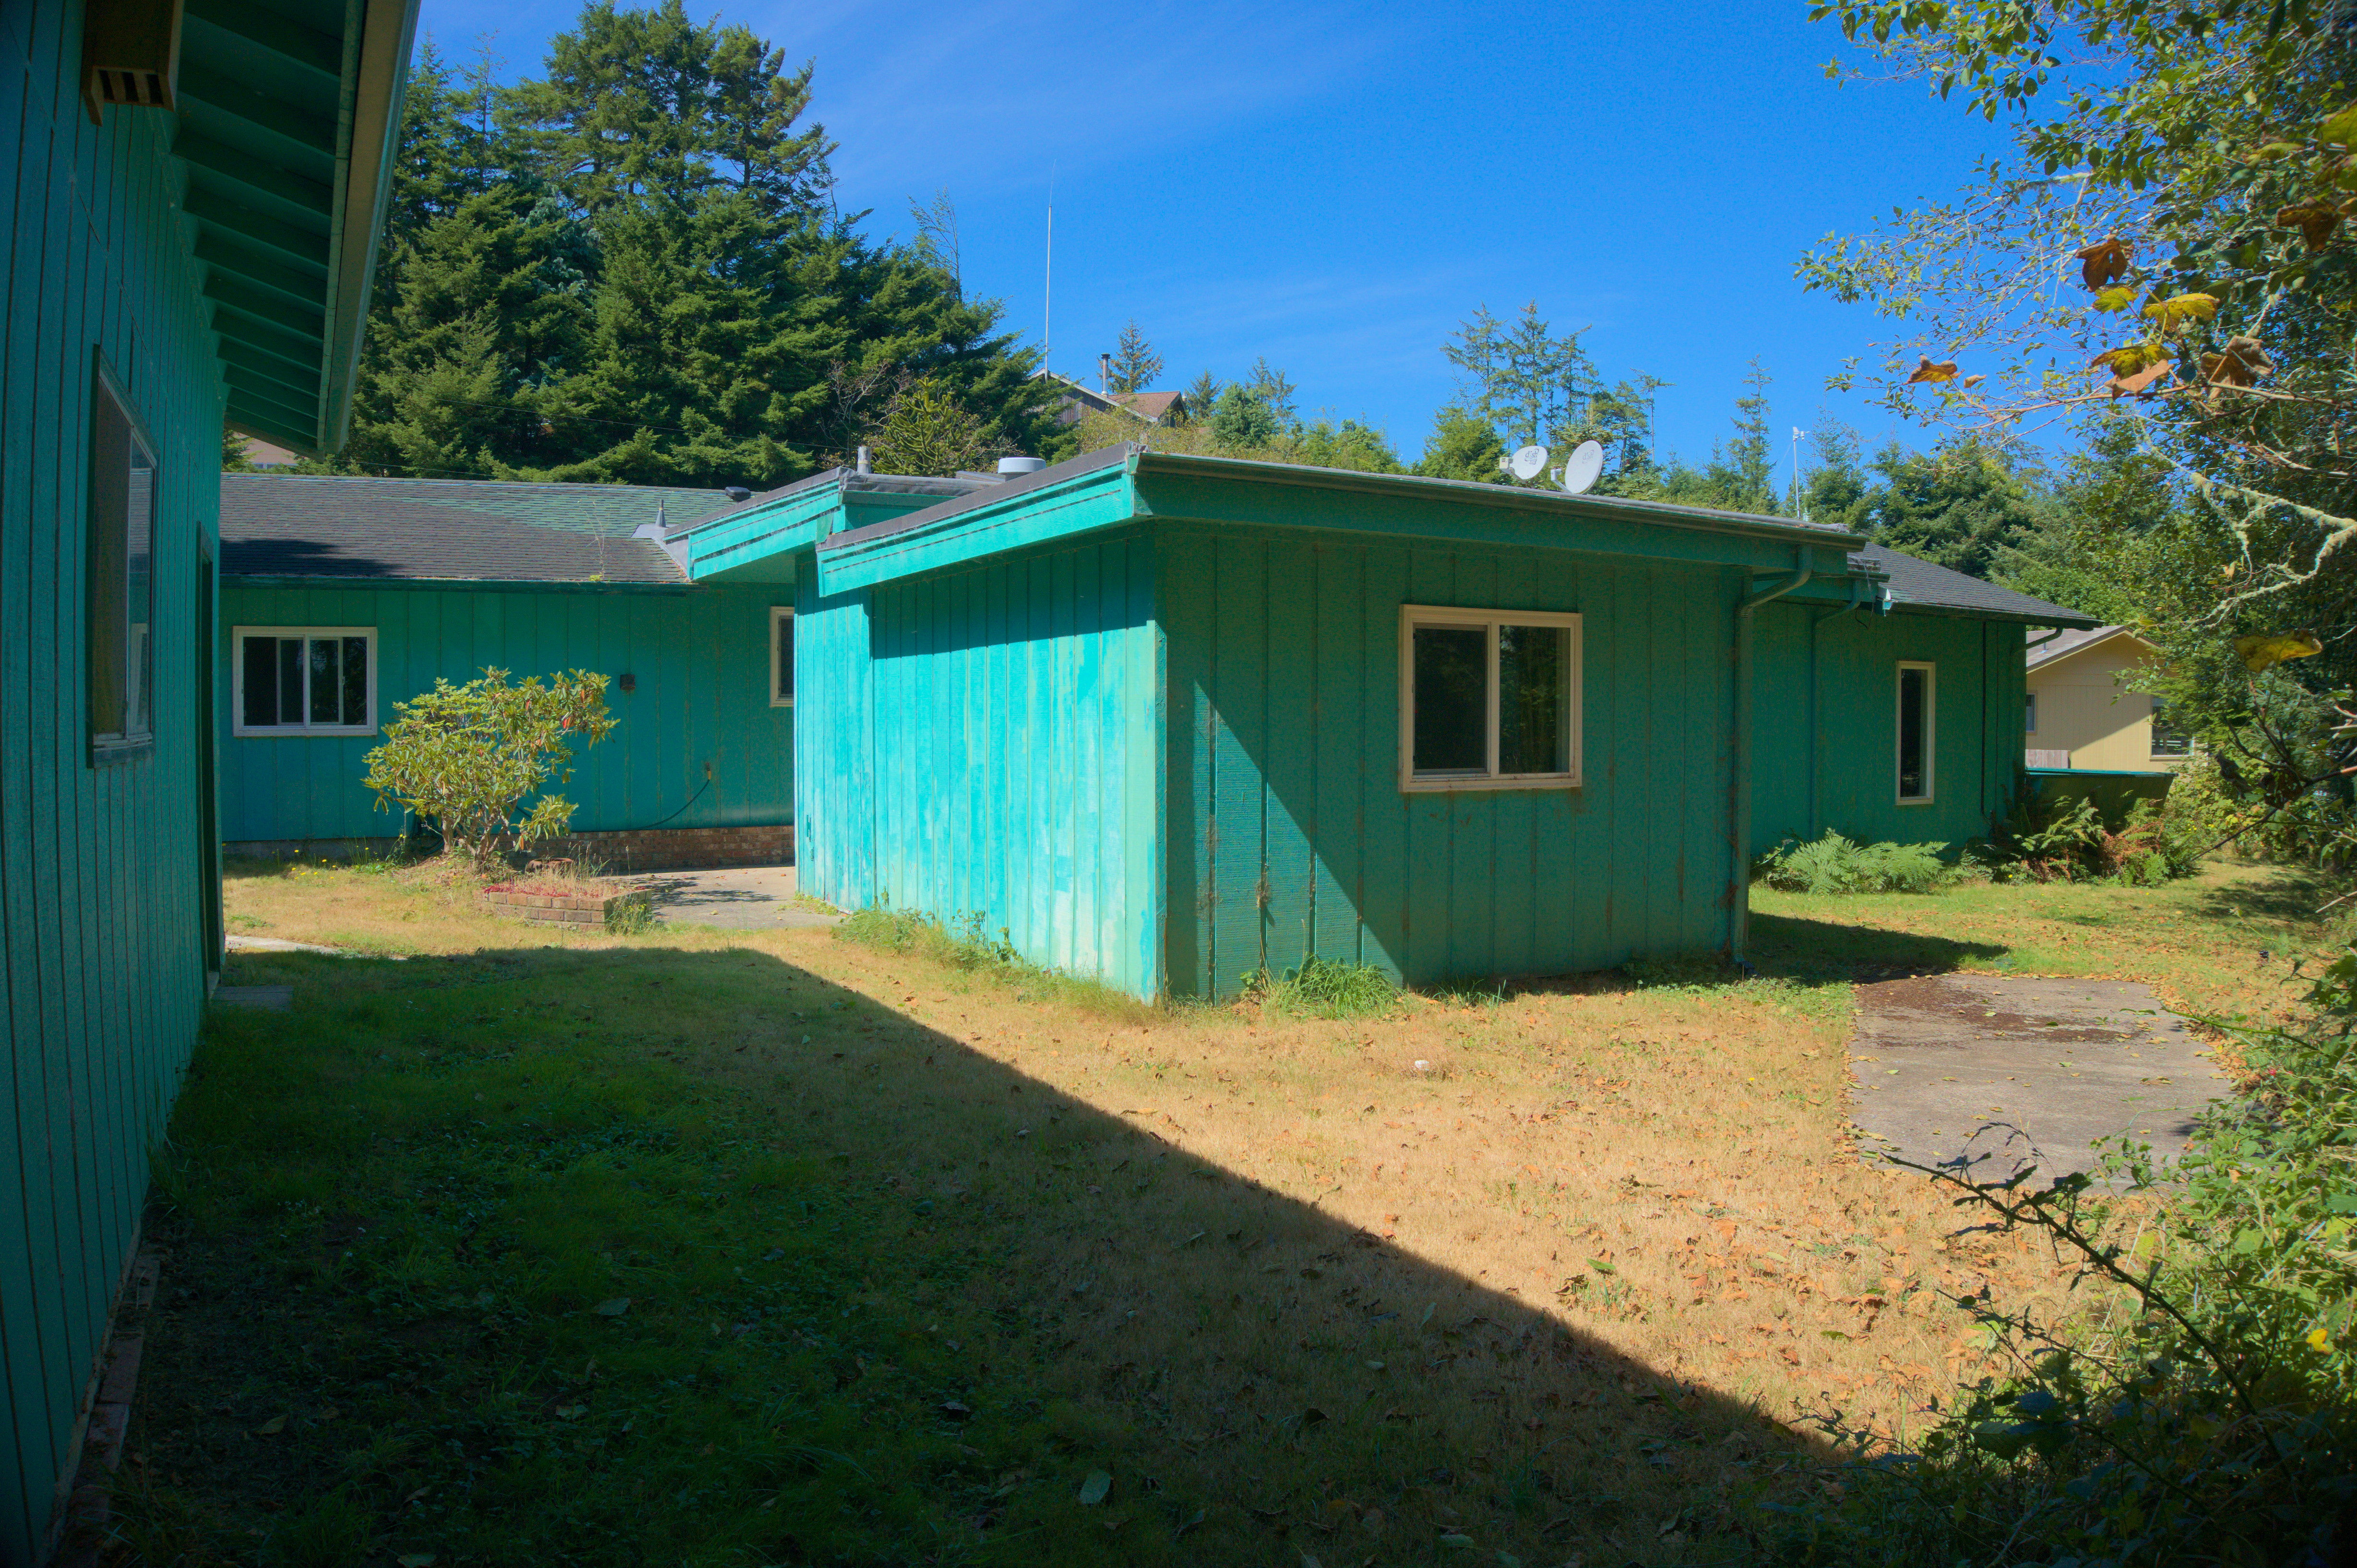
Again, no blown out grass in full sunlight, details in the shadow of the building on the left are visible. The saturation can be enhanced for a bright blue sky and colorful siding. No alignment issues with processing a single photo, so it’s as sharp as it can be.
Bottom Line: Use Raw rather than HDR
If you can shoot Raw, do that rather than using HDR programs. If the Sony Nex6 could bracket by more than +-3EV, maybe 5 or 8EV, then maybe HDR would provide more range. But at only +-3EV, Raw photos do a better job.
That’s my take on things anyway.
– ww
