


The lighting retrofit on the Alienware Aurora R2 is done. It was a nightmare. I’m not going to do a “How To” post. I’ll show pictures and describe the results. I am not suggesting that you do this, but if you want to, and you have a tremendous amount of courage and fortitude then have at it. You have been warned, or are about to be. I’ll show items I used to do this.
The Good and Bad News
The good news is that it’s a small clean LED controller that is run from a SATA power port – converted from a USB connector that the controller uses normally.
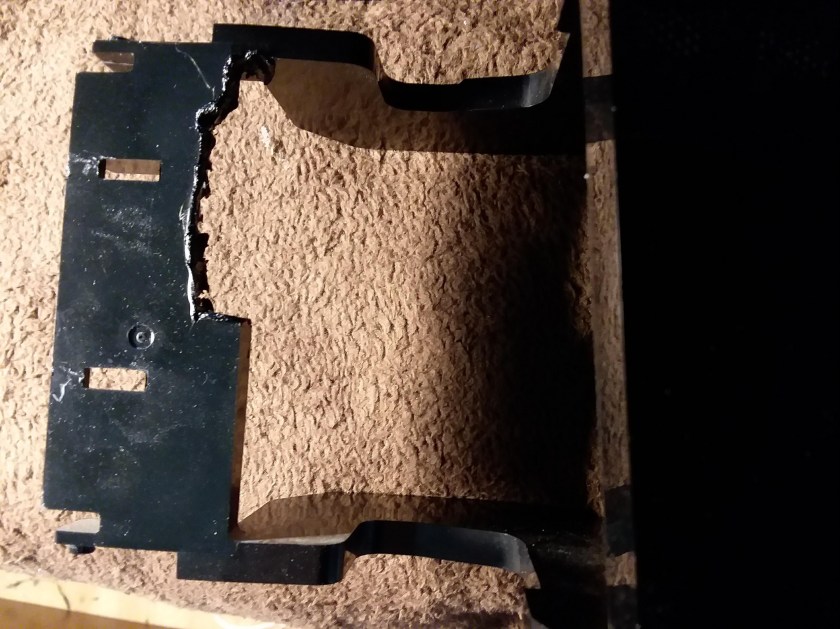
The bad news is that the Aurora R2 case is a nightmare to take apart and put back together, especially the Right Side panel. After an hour’s work, I was not able to get it back together completely correctly. But most of the slide catches are matched up and the holding screws are all in. Do a search for Alienware Aurora R2 Service Manual if you really want to do this. It shows where the case screws are and that you will need a philips driver with an 8″ long blade to reach the screws. And get a strong magnet somewhere to magnetize the driver so you can place and retrieve the screws.
The industrial design for this case is a nightmare.
The lighting is not as bright as I would have liked. But it’s always on, when the computer is on.
The Alienhead was not changed. That internal design is too tight to allow any changes. I left the wiring the same. The HD blinking light still works. I messed up the lighting for the Media Drive Bay and someday I might fix that. Probably just polarity of the LEDs. The Head lights up as it did before as the system boots, but Windows then does it’s USB Reset thing and the head goes out as before. Whatever.
The lighting board for this case is a Multipurpose board with a bunch of features. On the early Area 51 case, the lighting board was a single function board. So it was easy to keep it working with a new motherboard by just hooking it to USB. This new design combines Media Card Reader, Media Door LED, Case Lighting, Fan Control and Some kind of cross over switch to prevent the media drive door from opening when the vertical case door is closed – I guess. There’s a switch that senses the position of the door, but of course no drivers where ever provided for Windows 10 and this feature would have required a driver to prevent media door operation. Sigh. So it’s not possible to rip this lighting / function board out of the case and have a working case – too many necessary functions on the board.
But I got the lighting working, so lets look at how.
Parts Used
Let’s start with the interesting parts and tools I used:


TV Backlights tend to have RGB LEDs and are simple, cheap and non-animated. If you want animation, there are options. I got one along the way, but decided that the controller was much larger and required 12 rather than 5 volts. Also I wasn’t sure how I could route the IR receiver to the front so that I could reach it with the remote.
Any LED strip set is going to have way more lights than you need. I used a string of 3 for the front and two strings of 5 for the sides. There is probably 6 or more feet of strip left. No problem. At $13 for the strip and controller who cares.
LED Strip Power
Here’s the power connector change to SATA using the SATA extension cable:


I did a change for both ends so that I could power the LED Strip from a USB power supply while I was working on the fit. Afterwards, the LED Strip would be powered from a Spare SATA Power connector inside the case. I looked up and confirmed that the Red was +5 and the blacks were ground. Yellow is +12 in case you have a LED Strip that requires that voltage.
Right Hand Side


The LEDs need to face inward to light up the panel. Maybe you can figure out a way to light it better. Also keep things tidy. I did and still had to melt off some areas of the back of the side panel to get it to clear these LEDs. I did not modify the clear panel.
Front Mouth
Once you test the Right panel, you’ll need to assemble the front before you put the Right Side panel back on. For the Front I just used the sticky strip on the LED strip to put 3 LEDs on the front down low where the original LEDs were.
Left Side Panel


I wanted to continue to use the quick disconnect feature of the left panel. But my case had been damaged and one of the fingers messed up. I made it work with a wire, but didn’t want to use it for the new lighting. I used the original wiring to the quick disconnect board. It was too difficult to remove and re-solder the tiny connector on the board. Again 5 LEDs to light the panel. It was easier to reassemble this panel since it’s not part of the case. No cutting of the plastic was required to fit the LED strip.
Front of Case and Controller Mounting


To avoid messing with the connector to the controller, I left a strip of 2 LEDs before I branched out to a 3-way parallel connection to the Front and 2 Sides. As I said, 3 LEDS stuck in the front where they were before and the controller inside with it’s IR sensor having a view through the “Mouth”. You need to stick the remote up the mouth to change the settings, but it’s not something I do very much. The color setting is preserved across power off. I need to check of the lights go out on Sleep, but since I imagine that the power is cut off to any drives, I’ll bet the lights go out on sleep. I used Velcro to mount the LED controller on the inside of the case.
Here’s another example of the messed up industrial design of this case. I have a new RTX 2060 card running in this case at the moment. It’s great, but to get the “Door” to close on the card requires cutting out part of that Door so it will clear the card. Nvidia and Alienware – at least for Old Alienware Cases – didn’t agree on the dimensions of Graphics Cards, apparently.
Well it’s working.
I don’t know the current state of Alienware Lighting Software for the newer cases. Can folks run Linux or other OSs on new cases with lighting support? How inconsiderate to not open-source the old software for obsolete cases so that they can continue to be used on New or Other operating systems. Or OpenSource the software for new cases for that matter. Is lighting control software so proprietary that it should be protected rather than just putting it on Github so that folks can do whatever they like with it?
Lovely cases with Bad Designs internally and Nightmare Closed Nonsense lighting software. What do they say as warning? “Don’t do this at home.” You have been warned. ;)
:ww
